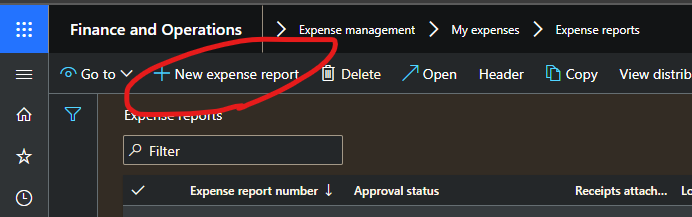
Claims can be made and submitted on D365 using Modules -> Expense Management -> My Expenses -> Expense Reports
- Select New expense report:
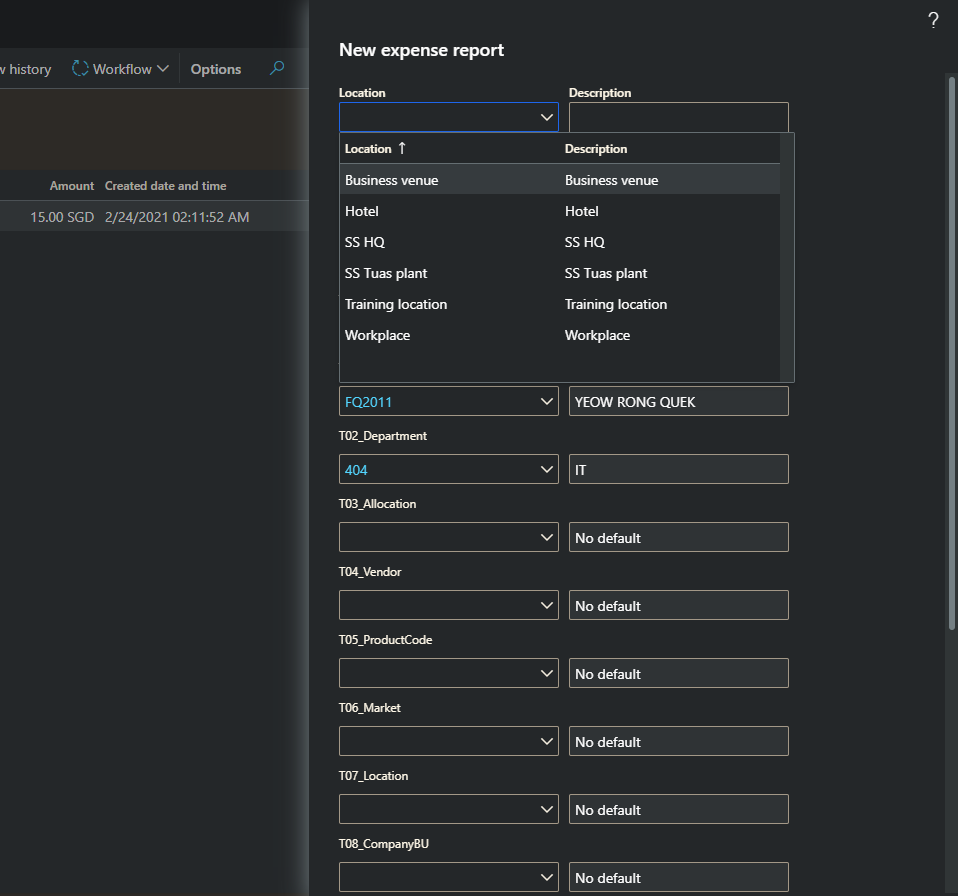
- On the right pop up window, select the location:
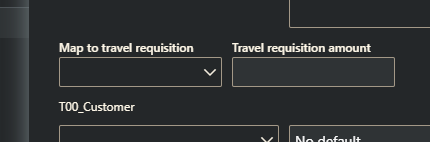
- You may leave “Map to travel requisition blank” if there isn’t any.
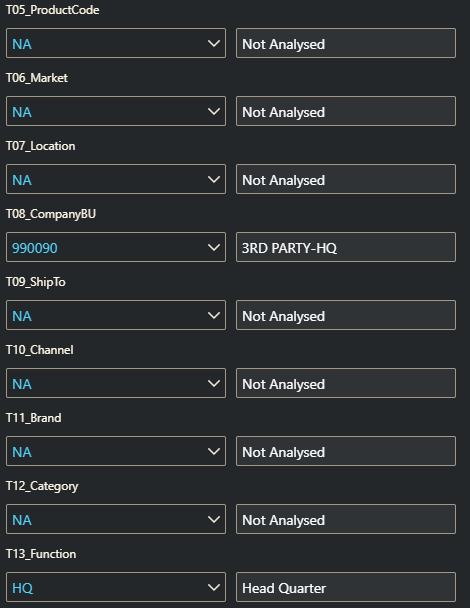
- When filling in the financial dimensions, please follow the table below:
|
Dimension |
Value |
|
T01_Employee |
Employee ID (e.g CR2101) |
|
T02_Department |
Department ID (e.g 404) |
|
T03_Allocation |
Defaults should be set, but please check with Finance Department if in doubt. |
|
T04_Vendor |
Employee vendor code (e.g EM0007) |
|
T08_CompanyBU |
HQ – 990090 |
|
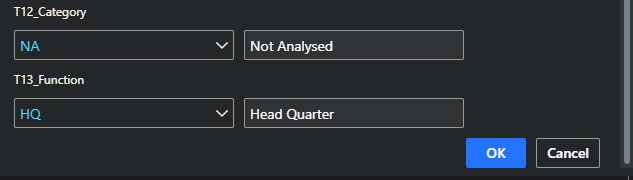
T13_Function |
Defaulted |
|
T00_Customer |
OTHER |
|
All other fields |
NA |
**This is a general guideline to filling in the financial dimensions. Different departments may have additional requirements/specifications for financial dimensions. If in doubt, check with Finance Department for the appropriate financial dimensions to choose.
Example Screenshot below: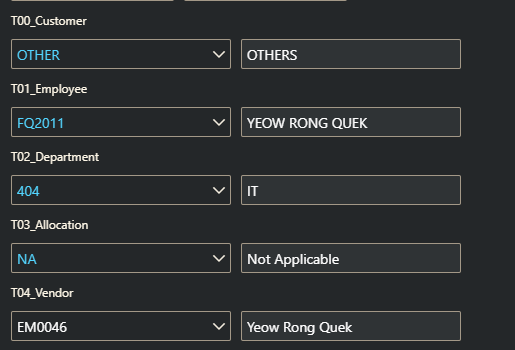
- Click “OK” at the bottom right once filled in:
- On the next screen, click “Go to”, the “Details” on the top left:

This changes the view to a detailed view: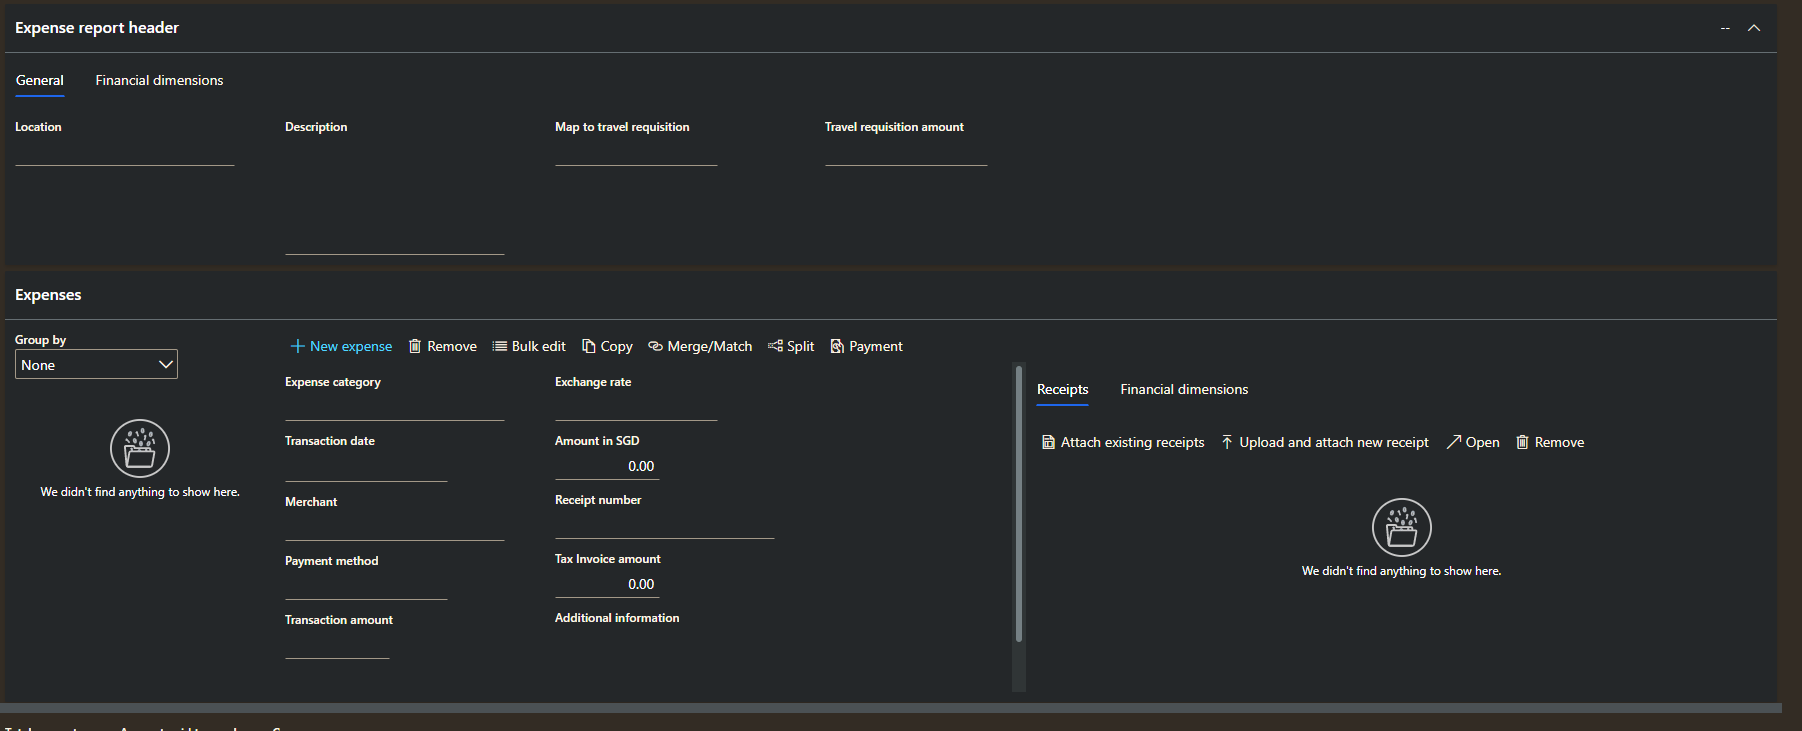
- To create an expense claim, click on “New Expense”
(To claim multiple items within one Expense Report, repeat steps 8 to 12.):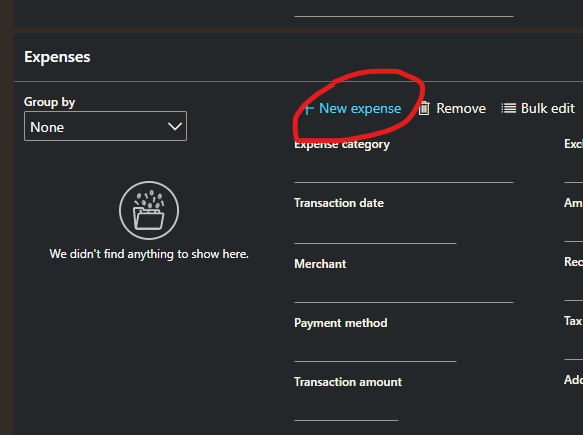
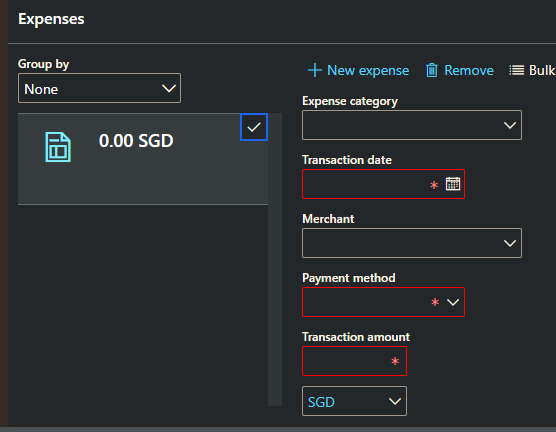
- Fill in the “Expense category” (For VEP claims, please choose ”Factory OPE-Petrol/Parking/ERP”)
In this example, we are claiming expenses for IT equipment, hence we choose “Computer Related Costs”: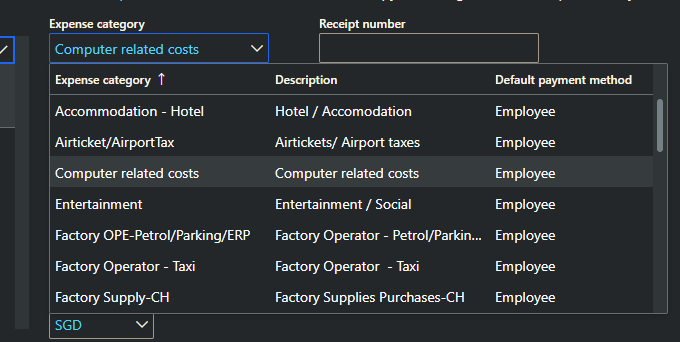
- Fill in all other related information:
Mandatory: Transaction date, Transaction amount
“Merchant” and “Receipt number” and “Additional information” (description) to be filled if available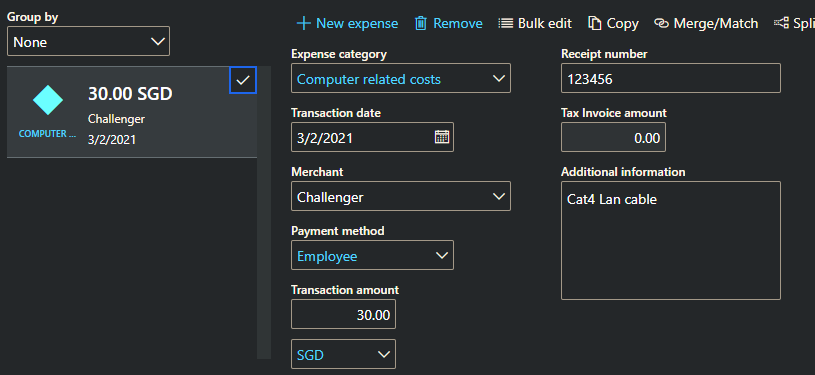
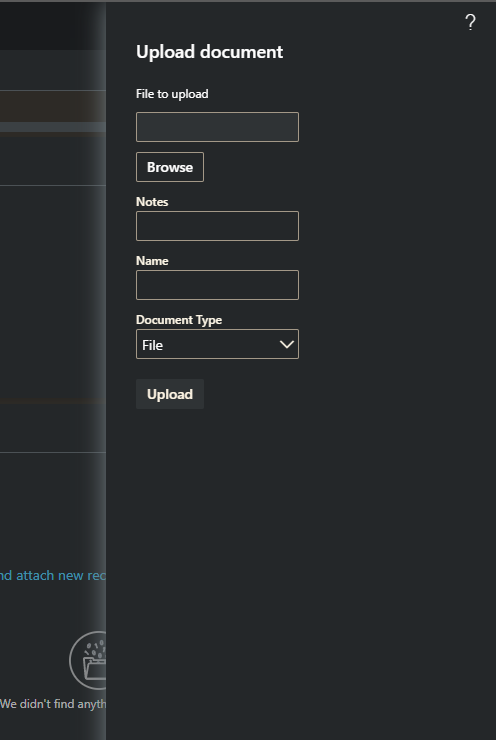
- Next, attach a receipt by clicking this icon
 at the top right corner of the page:
- On the side bar pop up, click on browse to locate your receipt. It can be a picture or a pdf. Be sure to change the Document Type (File/Picture) accordingly:
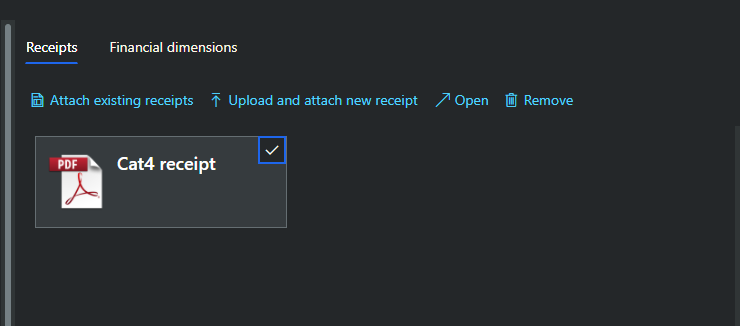
Click “Upload” once done. The file should appear next to the relevant claim: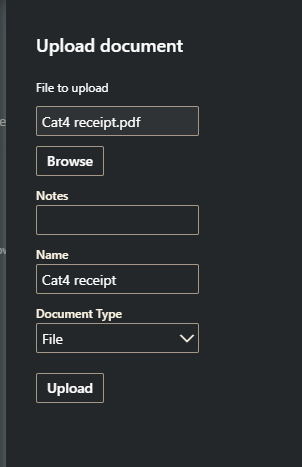
- Once you are done filling in the claims, click on “Workflow”, then “Submit” at the top:
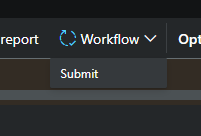
- At this point, once the Expense Report is accepted, your claims will be processed.
Comments
0 comments
Please sign in to leave a comment.